Zelf kunstgras leggen

Installing artificial grass on the balcony, garden or playground?

Yes you can! In principle, you can install the grass mats on any surface and you can install Resigrass yourself, as long as you follow a few golden rules! In addition, our team is always ready to answer your questions throughout the process.


Any surface immediately becomes beautiful with artificial grass and requires very little maintenance. Even outdated and cracked tile floors, unfinished concrete floors or rough surfaces where dirt quickly adheres can be turned into a beautiful green lawn very quickly. Small irregularities in the underlayer can then be smoothed away with ResiBase; a shock-absorbing underlay mat. This way, you avoid having to break up structures and the high costs associated with a complete renovation.

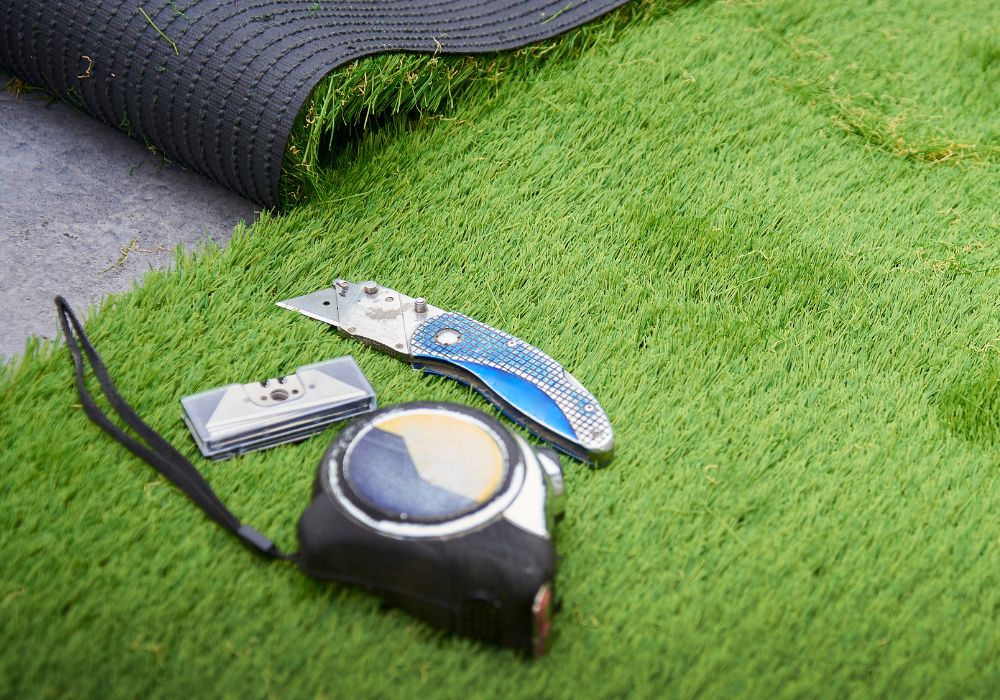
Would you like to carry out the installation yourself? You can! We made a handy instruction checklist below.


Contact us

Laying Resigrass artificial grass in 3 easy steps

Tools needed:

1. Substrate preparation

To enjoy your artificial lawn for a long time without worries, a correct and solid preparation of the subsoil is necessary. After all, artificial grass only really comes into its own on a smooth surface.
There are different types of subsoil you can take into account, we have sorted the approach per type on our installation page, so you will find all the info you need on: 

  • Installation on well-drained ground
  • Installation on poorly permeable ground
  • Installation on paved subsoil
  • Installation on green roof
  • Installation with fall protection
  • Sports field installation
  • Installation on stabilised ground

Is something not clear or do you still have questions? Then give us a call!

2.  Install intermediate layer

Once you have the soil nice and even and compact, you continue with the intermediate layer. This is usually necessary, but can be omitted in certain cases. There are a number of types:

  • Resigeo: this is a woven pressure-distributing textile cloth and is absolutely necessary on unpaved or semi-paved ground to prevent weeds from growing through the perforated grass. ResiGeo is delivered on rolls and is easy to roll out over the prepared surface. Each roll should overlap the next so that no gaps or crevices are formed.

  • Resibase: this layer of synthetic material is ideal to be used on (semi) paved surfaces with the following important characteristics

    • Increases comfort : a lawn is not located on a concrete or hard surface. With this intermediate layer, you obtain a 'softer' surface, which gives a much more comfortable feeling.

    • Weed resistant : just like ResiGeo, this layer prevents weeds from growing through the grass.

    • Water buffer : a paved or concrete surface does not absorb water, which can cause flooding during heavy rainfall. With this intermediate layer, you create a buffer that ensures a gradual drainage of the rainwater. On roofs, for example, this is a highly desirable effect.

    • Evening out small irregularities: ResiBase is a flexible material that absorbs small irregularities in the subsoil (e.g. uneven or broken tiles, joints, etc.).

    • Resibase is delivered in sheets of 1 x 1m or in rolls of 1.7m. Standard thickness is 6-10mm. Place the sheets well against each other and if necessary put a strip of ResiGeo on the seams.

  • Resishock : a specially designed system that can be placed where a shock absorbing effect is required like playgrounds, recreation areas etc. Resigrass has HIC certified systems for the construction of public areas that have to meet these standards. Our experts will be happy to inform you about this in detail. ResiShock is delivered in sheets of 2 x 1.5 m. The thickness is variable in function of the HIC standard to be followed. Put the sheets well against each other and if necessary put a strip of ResiGeo on the seams.

3. Installing Resigrass

Once the substrate is properly prepared and any intermediate layer in place, laying artificial grass is fairly simple. For this to go smoothly, it is best to draw up an installation plan first. We are also happy to prepare this free of charge if you wish. The following should be observed during installation:

  • Minimum temperature of 12 to 15° C and no rain, for good adhesion of the glue
  • Laying direction: All strips of grass should be laid in the same direction ("wing") to obtain the best optical result
  • The blades always point in a certain direction (visible when unrolling).
  • Make sure that the blades are facing you when you are on the place from where you can usually see the grass (terrace, house, etc.).

First lay out the strips according to the laying plan and make sure that the seams connect nicely. Use a sharp sturdy cutter knife (Stanley type) to cut the turf to size. Avoid cutting the blades of grass: only make cuts on the underside of the turf (backing). It is therefore best to lay the mat upside down for this or fold it over briefly.

Making seams:

  • In case of several rolls of artificial grass: make sure that the distance between the rows of knots of the roll on the left and the roll on the right is the same as the distance between the rows of knots. If not, cut a row of knots (tuft line) straight along the length on one or both sides.
  • Once you have laid the strips next to each other, fold the grass mat lengthwise inwards for about 15 cm. Then you can place the ResiTape or ResiBand to fix the seams.
  • After placing the tape, fold the grass again and press the seams well together and on the tape.
  • After gluing, do not tread on the installed turf for at least 24 hours to allow the seams to bond properly.
  • Finally, fix the grass mats to the subfloor according to the substrate with ResiFix or ResiNail. 

It is possible that after installation, the grass mat may shrink or expand a little under the influence of temperature. This is perfectly normal and can easily be remedied by:

  • in case of expansion: briefly loosen the grass mat at the perimeter, pull it taut again and carefully cut off any excess.
  • in case of shrinkage: make sure that when installing at the outer edges of the pitch, you do not cut the turf too tightly so that no gaps or crevices are created in case of shrinkage. If the turf then shrinks, space is provided for this. Then also loosen the fastening for a while to allow the mat to 'relax', before pulling it taut and fastening it again.
To get the blades of grass nice and straight, we recommend brushing the grass well with a rough brush in the opposite direction about two days after installation.

Discover the benefits of Resigrass for your project

Visit our show garden